Google Docs can be a useful tool for building simple family trees that look great. This guide takes you through the steps required to take advantage of these tools.
The Google Docs Editors suite by Google is a set of versatile and user-friendly tools that offer many features for creating and sharing documents. While most people will have heard of or used Google Docs, Google Slides and Google Sheets at some stage, many of you probably haven’t heard of Google Drawings.
Google Drawings is a lesser known diagramming software included in the Google suite. It allows users to collaborate on charts and custom diagrams, which naturally lends itself as a useful tool to work with your family to make your family tree.
Whether you’re a beginner or an experienced user of the Google suite, we hope you’ll find this guide helpful in creating a simple yet beautiful family tree that you can share with your loved ones.
Step 1: Start a new Google Drawing
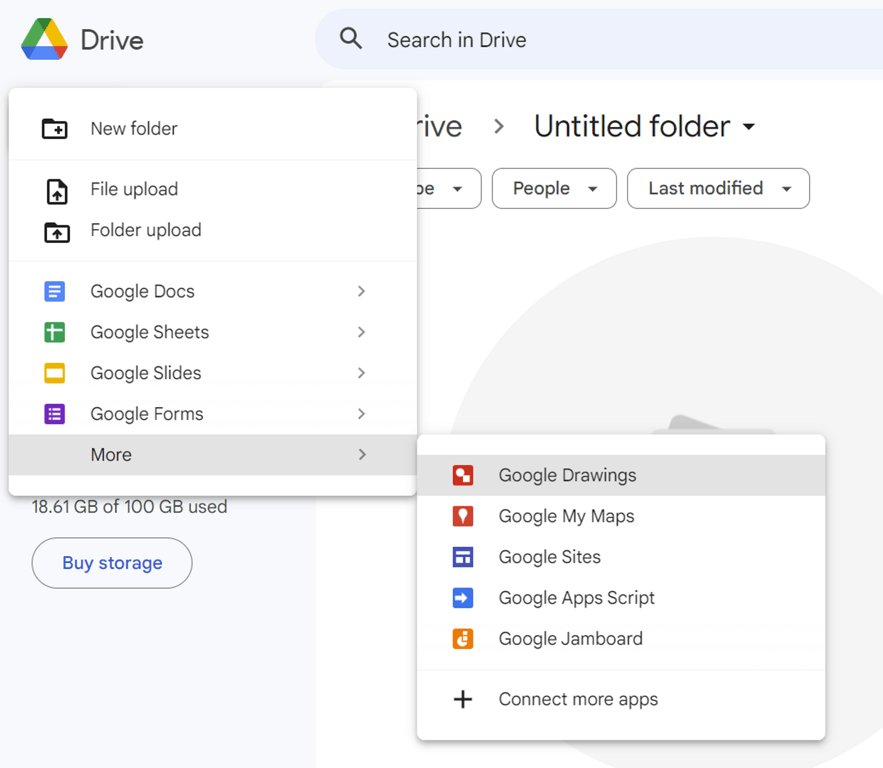
We’re going to be using Google Drawings for this family tree. Create a new Google Drawings file by opening up your Google Drive, hitting the “New” button at the top left, then finding and clicking on Google Drawings.
Step 2: Create a template for an individual
Once you’ve created a new drawing, we’re going to start by creating a template for each individual on the tree. We’re going to do this using a collection of shapes and text boxes to get you going. The purpose of this step is to help you visualise the tree structure on your screen, and we’ll get to adding details in later.
For each of my individuals, I’ll be using a circle for where I’ll want their picture to be, and text boxes below for their name and age information. Feel free to use other shapes or designs if you want your tree to look different.
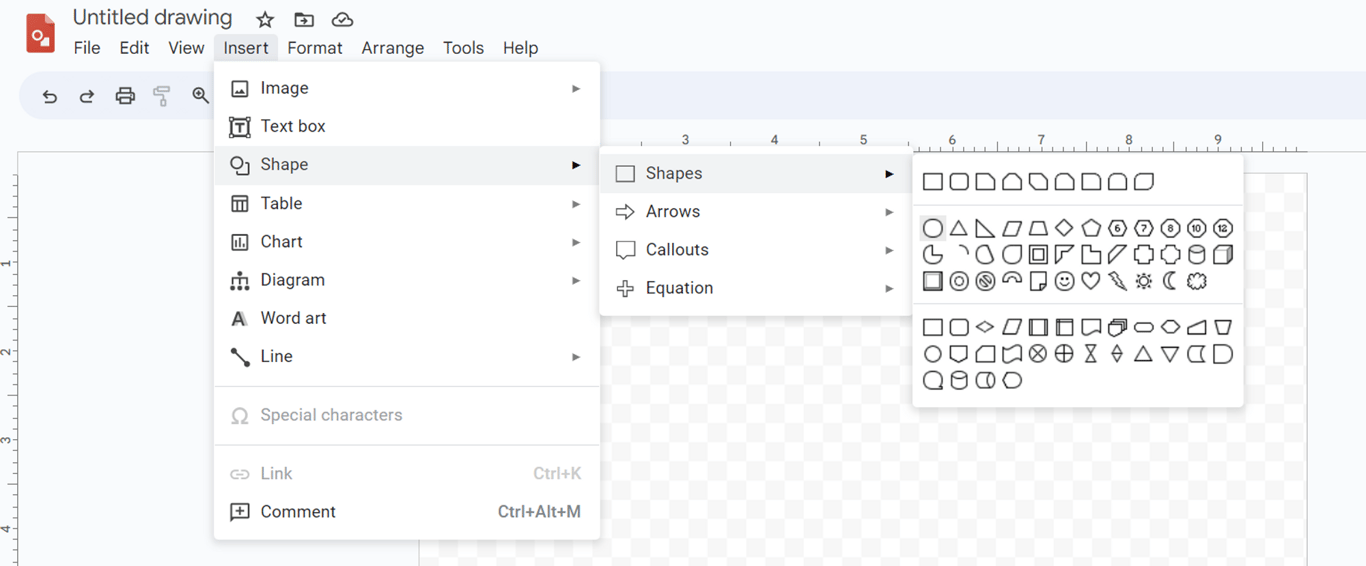
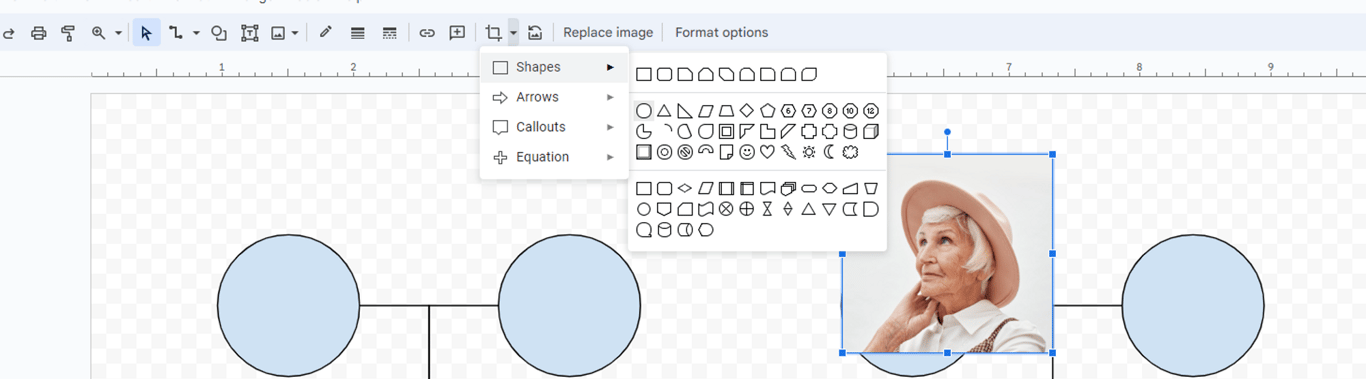
To insert a shape, go to Insert > Shape > Shapes, then select the shape you want to use, in my case I’m using a circle for where I want the person’s image to go.
To draw a circle (and not an oval or ellipse), hold shift as you drag the shape on your screen.
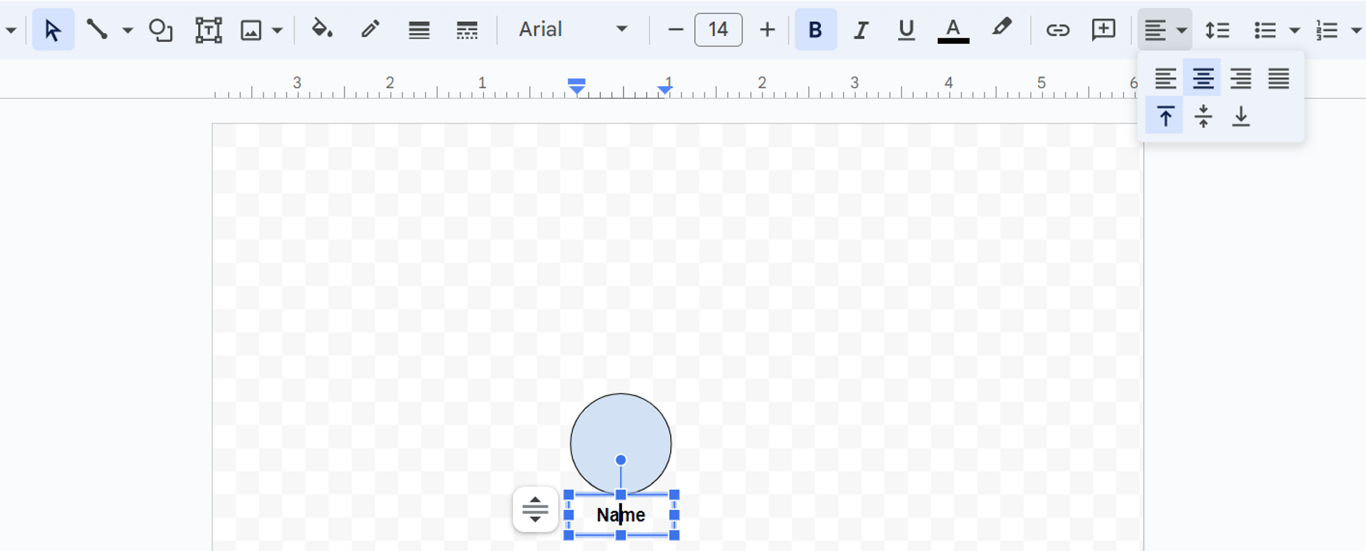
Insert a text box underneath following the same process (insert > text box) and throw some placeholder text in for now. It’s a good habit to resize as you go so that you can easily re-organise items later, so in this case I adjusted the width of my text box so that it lined up with my circle.
While you’re at it you can align your text to the centre of the box by hitting the alignment settings in the top toolbar.
At this point, we’re just eyeballing sizing, which is fine. Just make sure you’re happy with where you land, because changing it all later can be a bit of effort.
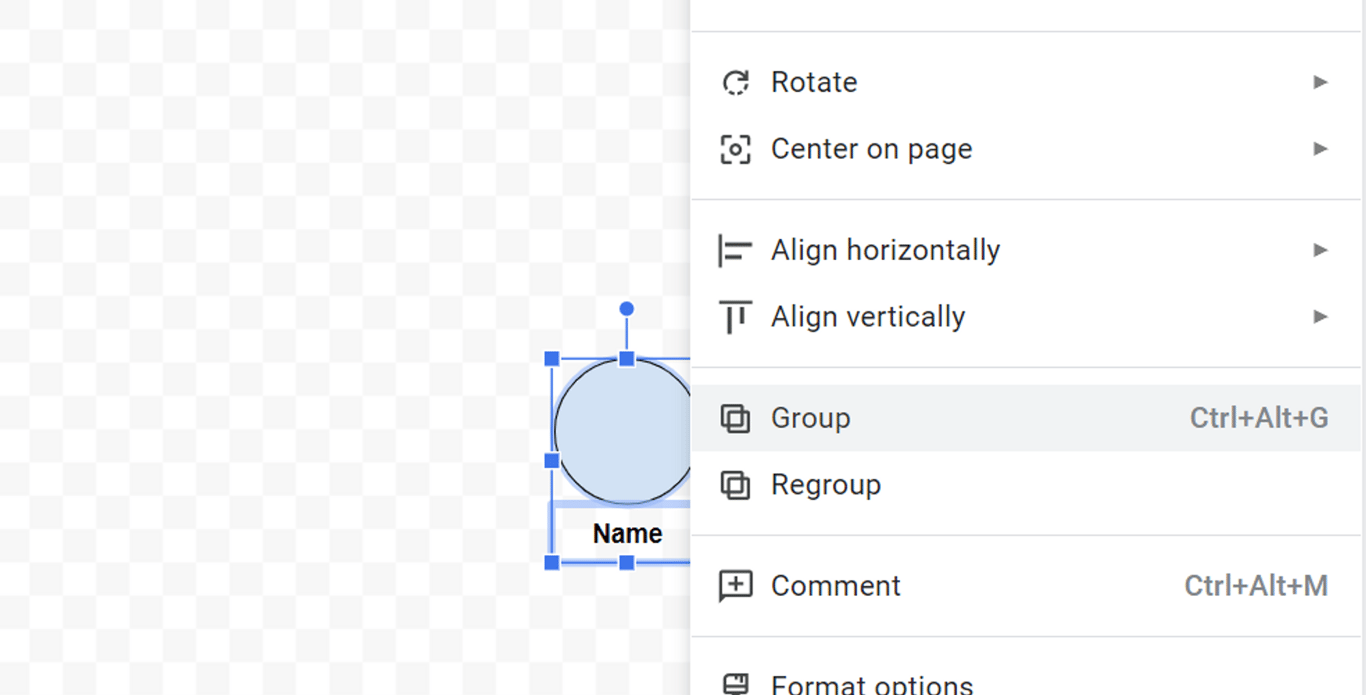
At this point, I find it easier to group the shape and text box as one unit, so that when I click on it or move it around, I don’t have to select multiple items. To do that, click and drag your cursor over both items to select them, then right click on either and hit Group.
Step 3: Start building your tree
It’s worth having a quick think about how many layers or people you want to put on this tree before you put pen to paper (figuratively), because that will impact the positioning on screen. In this tree, I’ll be adding my parents, and their parents, so I know I’ll need 4 people at the top layer, 2 in the layer below, and 1 at the bottom.
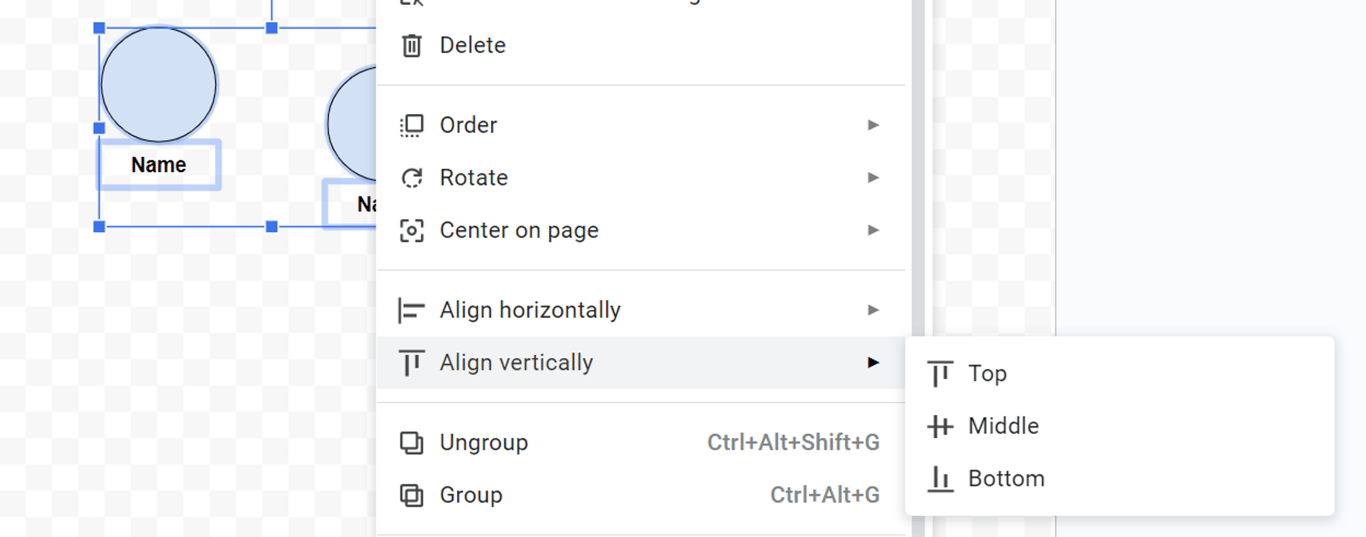
I start by selecting the template we created in Step 2 and creating 2 copies. and I’ll move those up to the top left hand corner. I’ll space those out horizontally where I want them, then use features from the Google Docs suite to help align everything. To align these, select them both, then right click on either, and click Align vertically > Top.
Then I’ll copy this partner pair over to the right hand side of the page, so that I retain the horizontal spacing.
Google helps you to align things and you should see some red lines appear on screen as you’re positioning the new couple, but if not, you can just follow the same steps above to align all 4 individuals vertically.
By now you should have something that looks something like this. Notice that the gap between the two inner individuals is slightly wider than the gaps between each partner pair. That’s intentional, to help distinguish the family units a bit more clearly. You can play around with this spacing however you like.
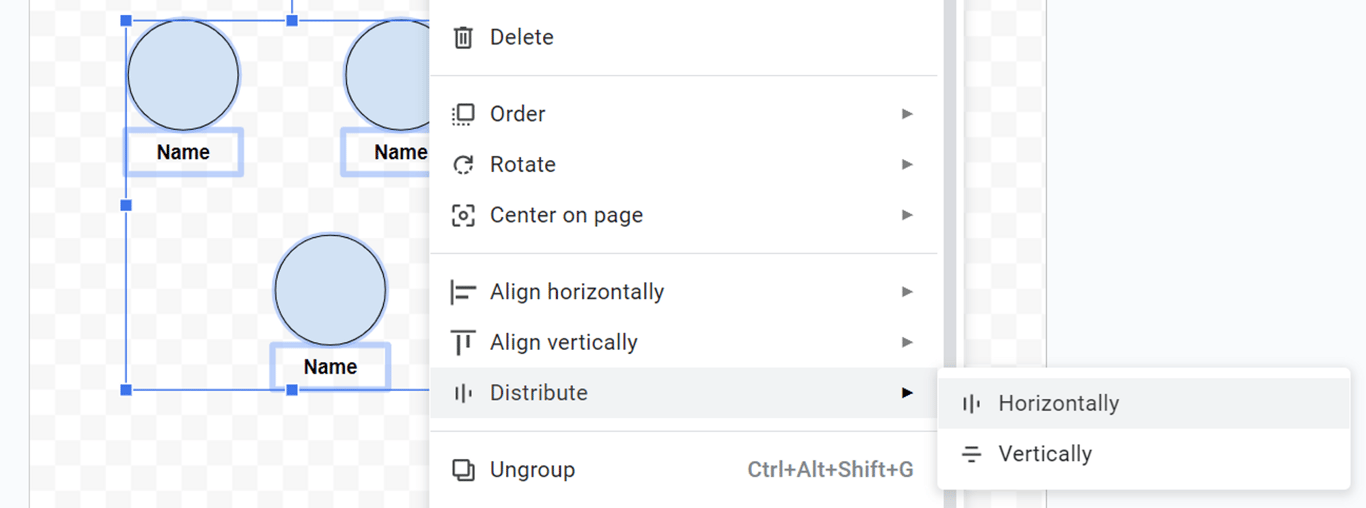
For the second layer, I’ll grab more copies of the individual we created earlier and drop one below and between each of the partner pairs we just created. We’ll use Google’s tools again to help us get things lined up properly. Starting with the left hand side, select both top level parents and the child below them, right click and hit Distribute > Horizontally.
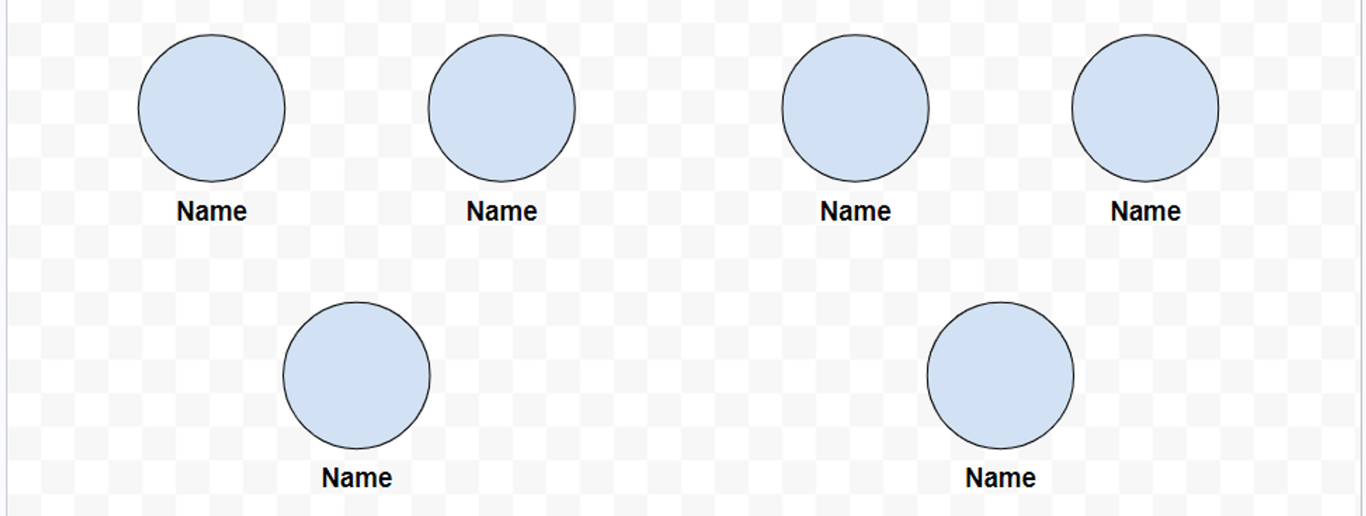
Repeat on the right hand side, then you can align the second layer vertically as well following the steps above and you’ll end up with something like this.
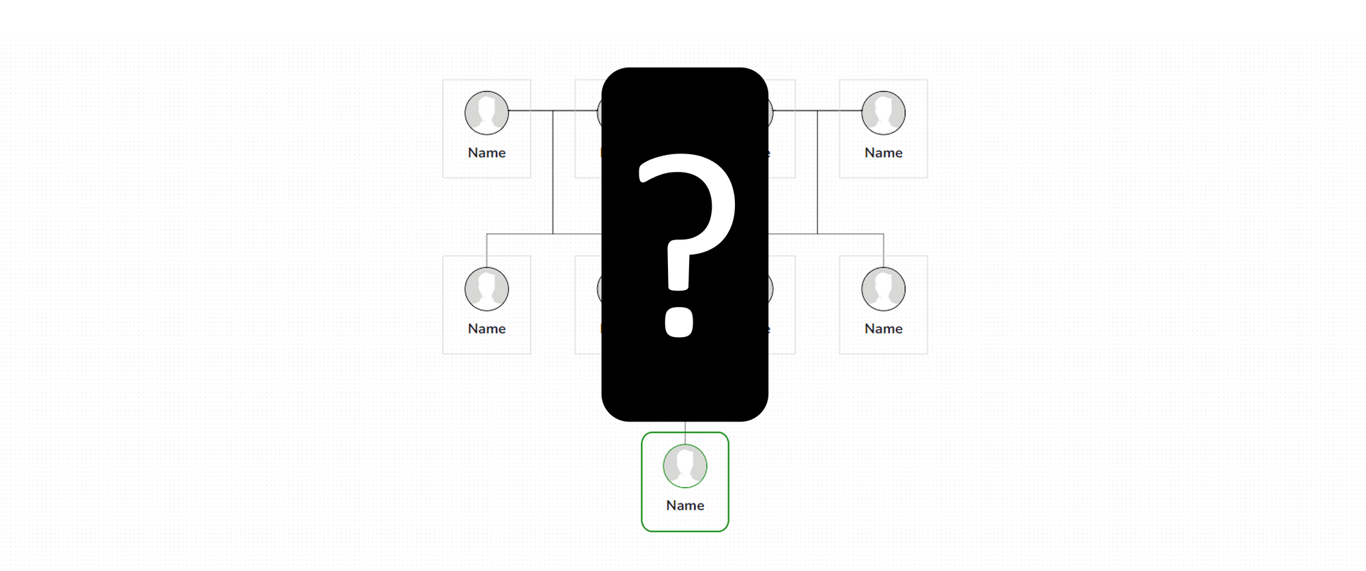
The last person I’ll be adding to this tree is myself, which will sit below the second layer, in the middle of the two people. Place the last person somewhere in between them and roughly the same distance below as with the layers above, and use the same steps we just went through to distribute horizontally, to ensure the last person is evenly spaced between their parents.
Now we’re going to go through one last step to get the vertical alignment right. Just like we did in Step 2, we’re going to group each layer, so that we can then organise each layer with respect to each other. So you’ll group the top 4 people as one group, the second 2 people as one group, and the last person is already it’s own group.
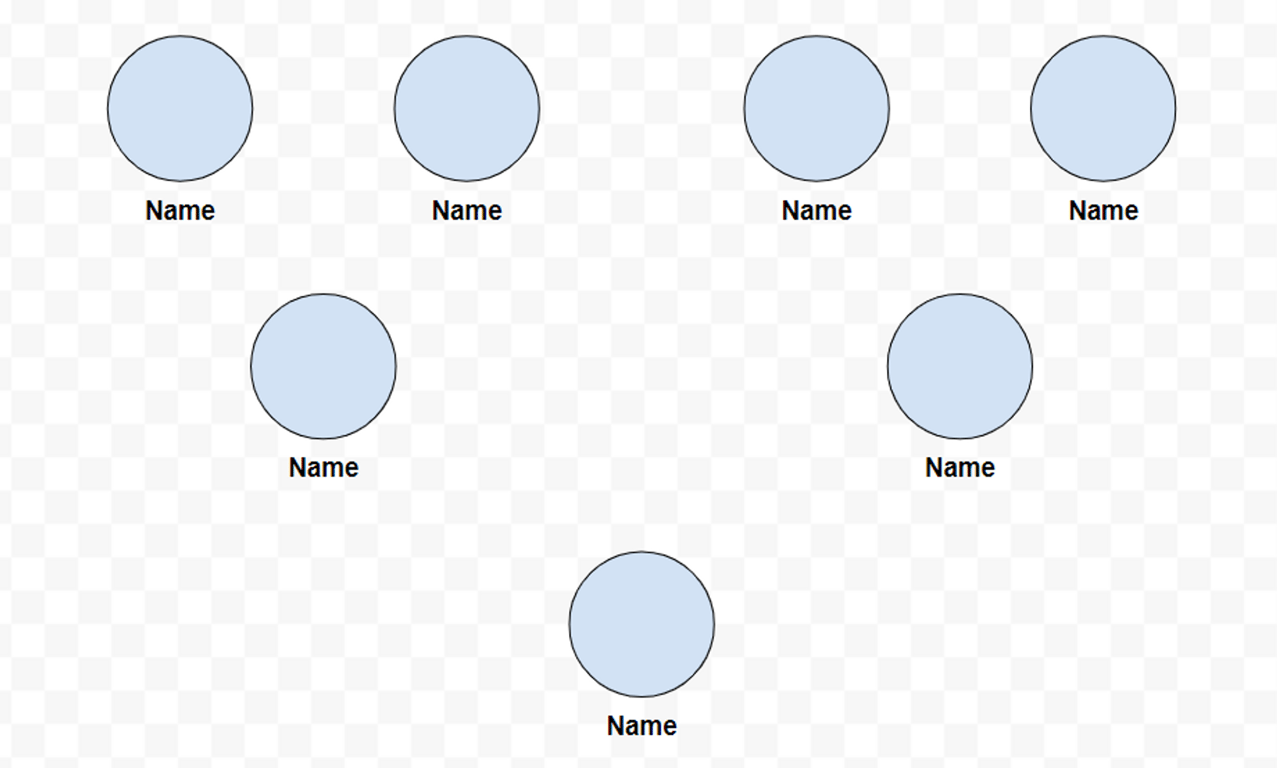
Highlight all the people on the page, right click and hit Distribute vertically this time, and you should see the second layer shift up or down slightly (if you didn’t, it was already in the right spot). Now, you should have all the people positioned so that there is even spacing between each layer and each person is evenly spaced below their respective parents, like below.
Step 4: Add lines to your tree
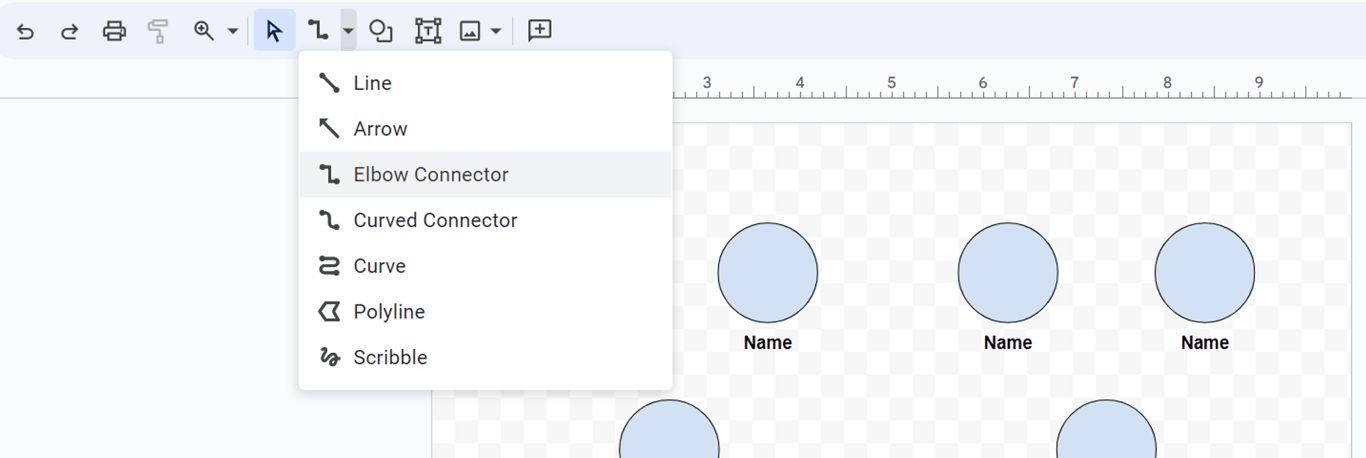
This is a good point to start adding the lines to your tree that represent the different relationships. Because we’ve got everything spaced out nicely, we can use simple elbow connectors to join each parent to their child. To do that we’ll simply select the Elbow Connector from the toolbar.
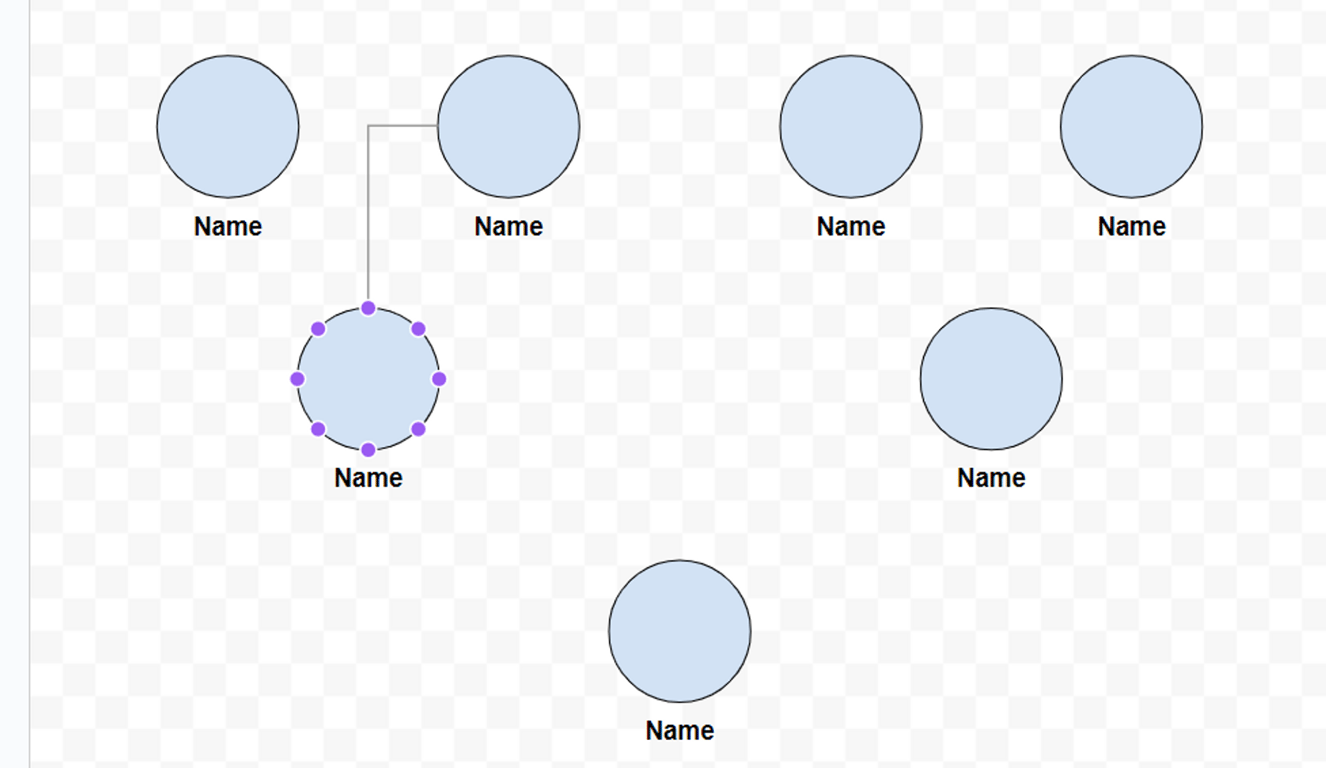
From there it’s a simple case of joining the inside of edge of the parent with the top edge of their child, like this.
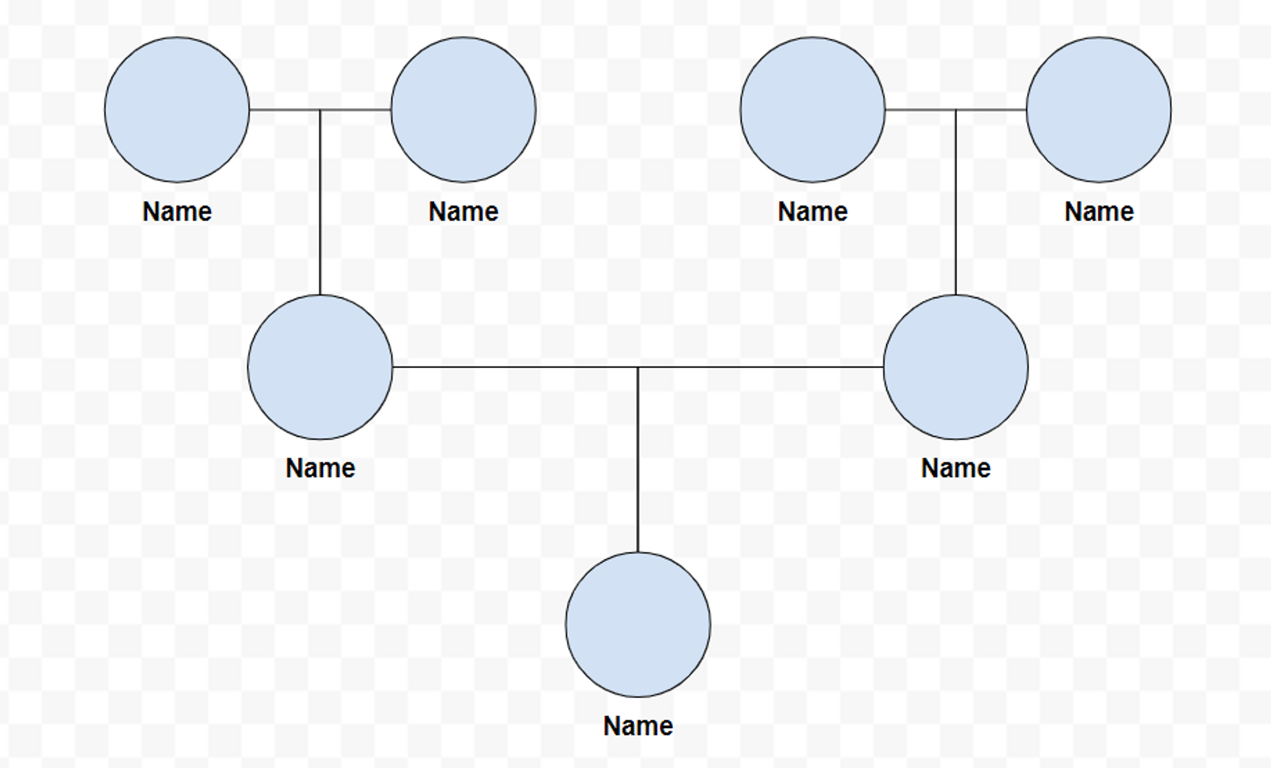
Repeat that a few times and you’ll have a complete tree structure.
Step 5: Finalise by adding pictures and other details
There are a few steps in adding pictures to the family tree we’ve created so far. You don’t have to go through all these steps if you’re not using circular images, but this is the look I prefer.
First, upload your image into the Google Drawing. There are a number of ways to do this, but I’ve got the files saved on my computer, so I’ll click on the image button in the toolbar and click Upload from computer.
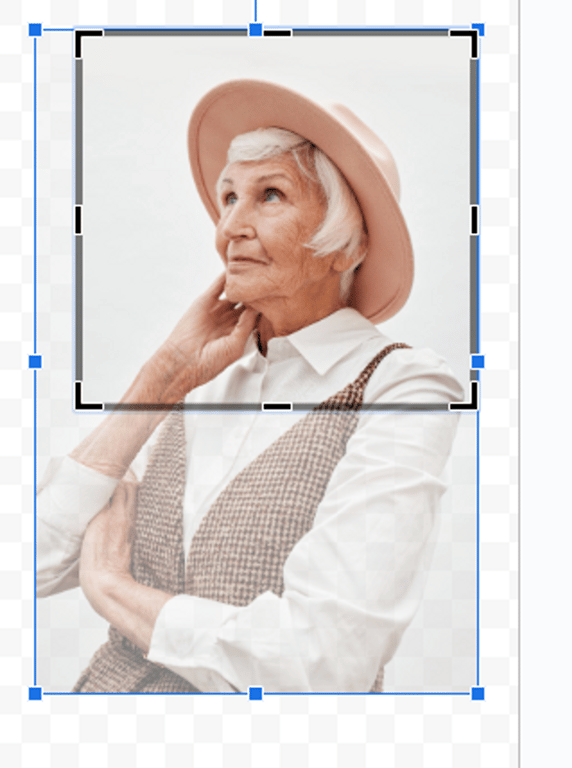
The image will appear somewhere on screen and now there are two things I need to do. First is to crop it to a rough square shape. I’ll do this by right-clicking the image, clicking Crop, and then dragging the black edges so that I have a rough square that has the face of the person roughly in the middle of it, like so.
Just click somewhere else on screen it and you’ll be left with a cropped image.
The next thing is to crop that square image to a circle. The reason we cropped it to a square first is that if we didn’t we’d end up with an oval, instead of a circle. So to crop it to a circle, simply click on the image, find the drop down on the toolbar just to the right of the crop image button (if you hover over it, it should say Mask Image), then go to Shapes and select the circle.
Now we’ve got a circular image, and how good your square crop was will determine how perfect this circle is. We’re going to do minor adjustments anyway, so don’t worry. We’re going to resize the cropped image so that it perfectly matches the images we used in the template.
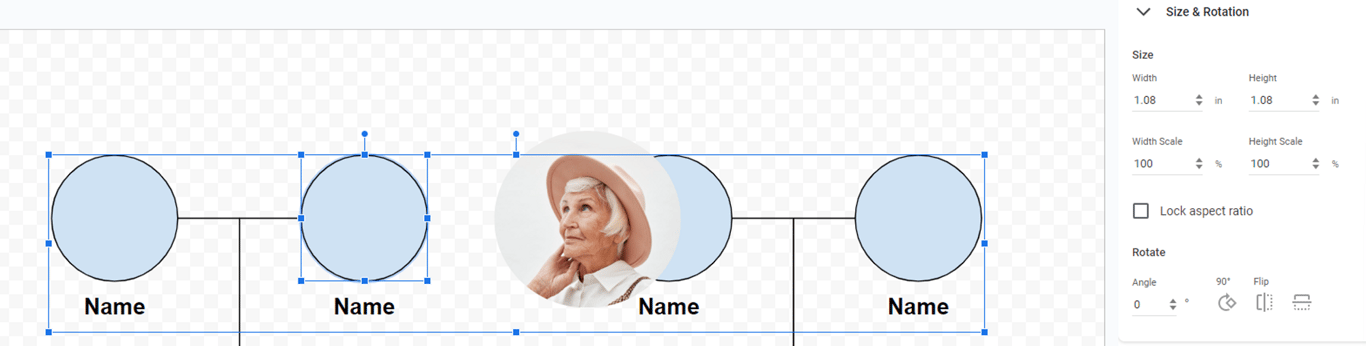
To do that, click on any of the circles on screen (you’ll probably need to click a few times until it’s selected because of the groupings), right click the circle, and hit Format options. That will bring up a formatting pane on the right hand size of the screen, which will display the width and height measurements for the circle.
To get your image to match, simply click on the image you’ve cropped and set the measurements to the same as the circles (in my case it’s 1.08 width and height).
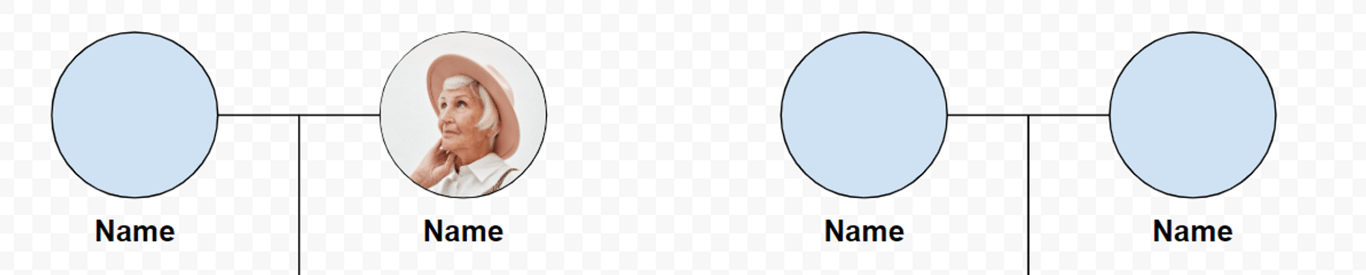
Now the image should be the perfect shape and size, so you can just drag it over the circle wherever you want to place it.
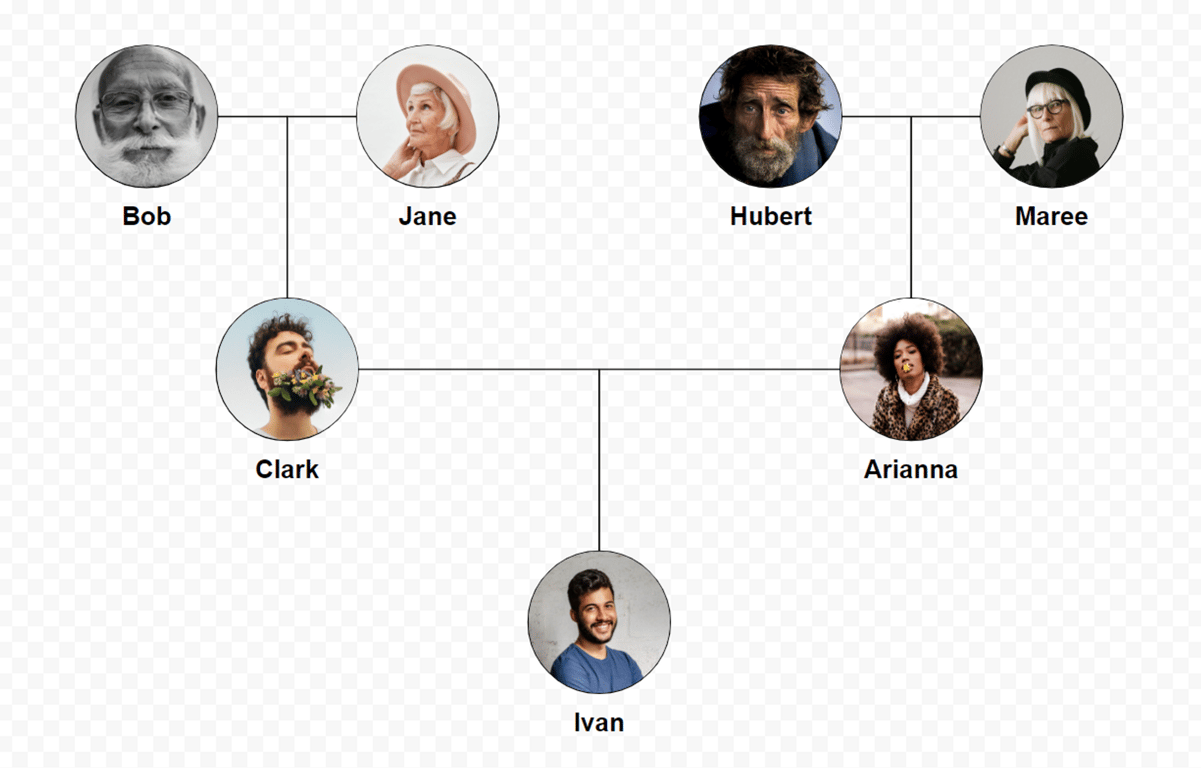
Follow the same steps to add pictures to the rest of the individuals, and you’ll have a tree that looks pretty complete. Don’t forget to update names, and you’re done (disclaimer, this is not my real family)!
I should mention that Google Drawings allows you to increase the canvas size, so if you want to build a bigger family tree, you can do so by clicking and dragging on the bottom right corner of the canvas to adjust its size.
The limitations of Google Docs for making family trees and my preferred method
The beauty of making your family tree in Google Docs is that it’s a free set of tools with pretty extensive capabilities, it’s stored online so you can access it anytime and you don’t have to worry about backing it up, and you can share it with your family members with the click of a button. However, there are limitations when it comes to family trees.
The family tree we’ve made above is a very simple tree and it’s called a pedigree chart. It only shows you the direct ancestry of the person at the bottom. But what if you wanted to include more family members, like siblings, cousins, aunties and uncles, siblings of your grandparents, and even ancestors beyond that? It can turn into a big mess real fast.
That’s why you’re better off using a dedicated family tree maker like Kintree. We’ve done all of the tree organising for you so that you can make the tree with a few clicks, and upload photos and edit details seamlessly. It also allows you to add in all of those other family members you want to include on your family tree. Not to mention, it’s completely free.
Click here to read more about how it works, and create an account to start making your family tree.
As you make your family tree, you’ll quickly realise that making more than two or three generations can lead to problem. Learn exactly why it’s not always possible to make the family tree you want and what to do about it.
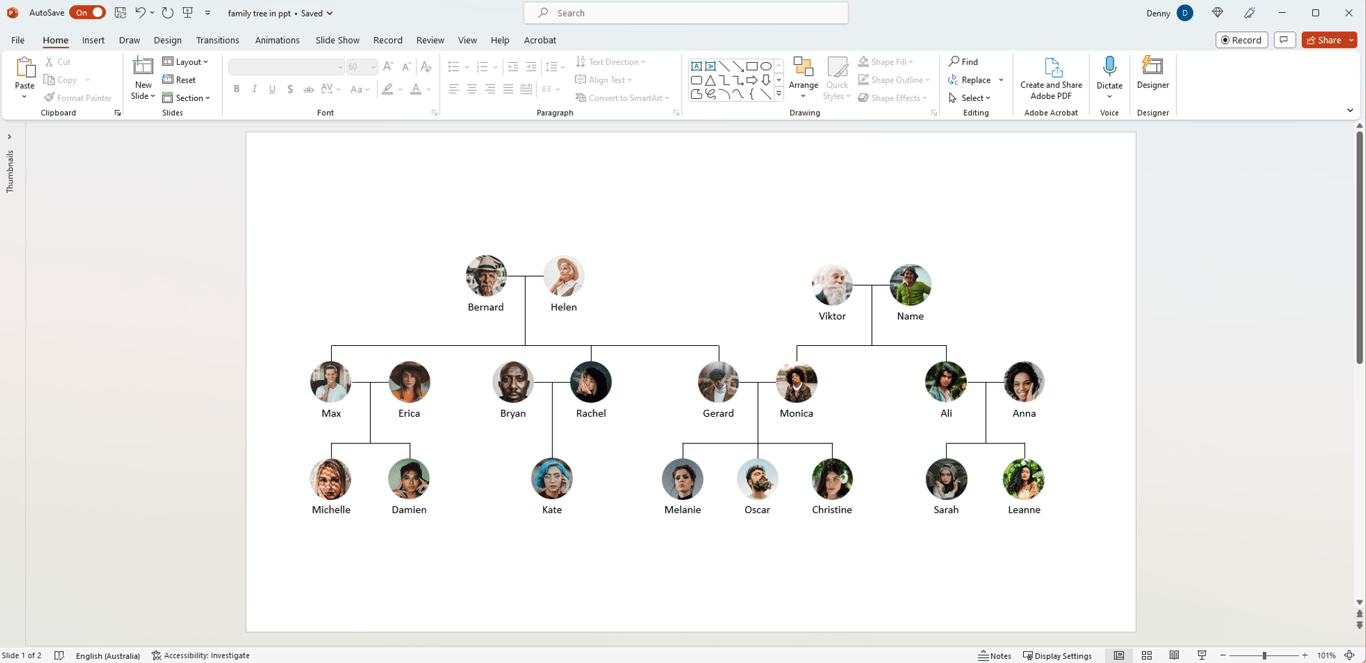
Whether you're a genealogy enthusiast or simply want to preserve and share your family history, MS PowerPoint offers a user-friendly platform to design and customise your family tree. Learn how to leverage the tools and features in PowerPoint to create a visually appealing and informative representation of your family.


 Made with Bullet